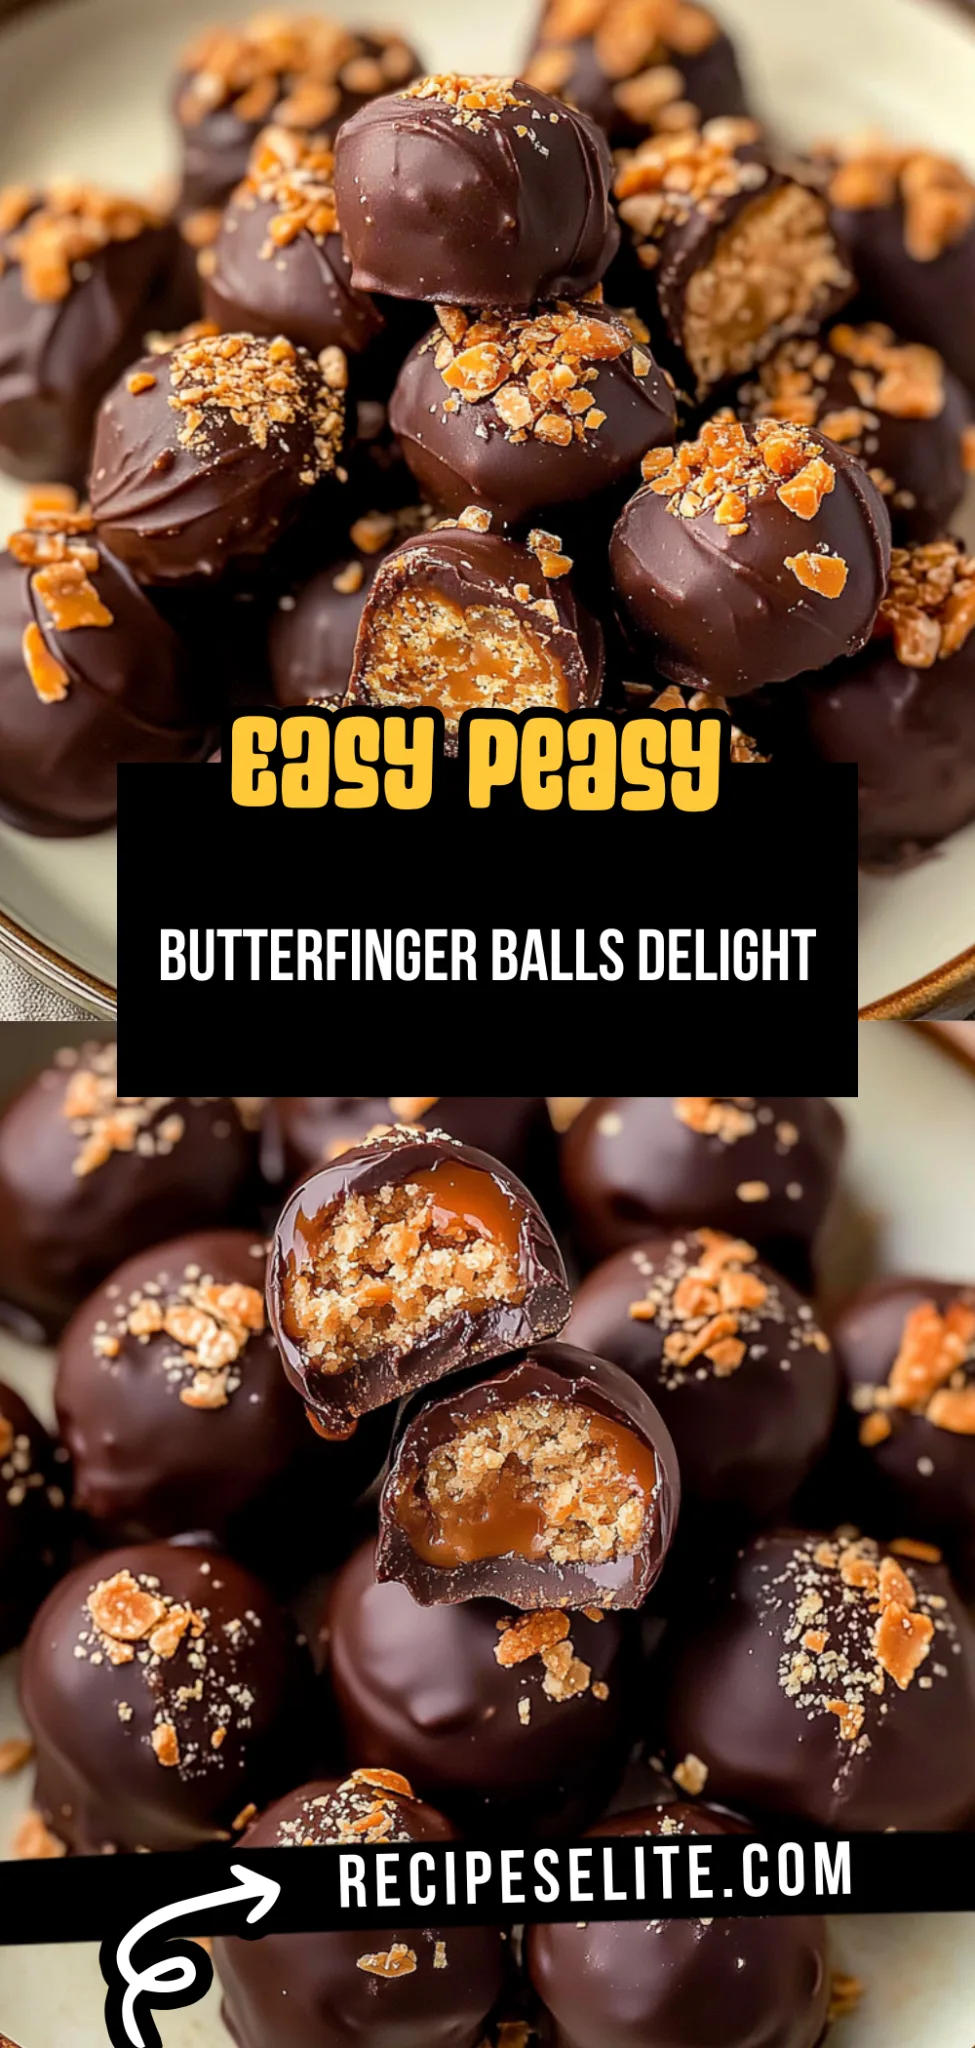
Butterfinger Balls: Irresistibly Gooey Treats to Indulge In
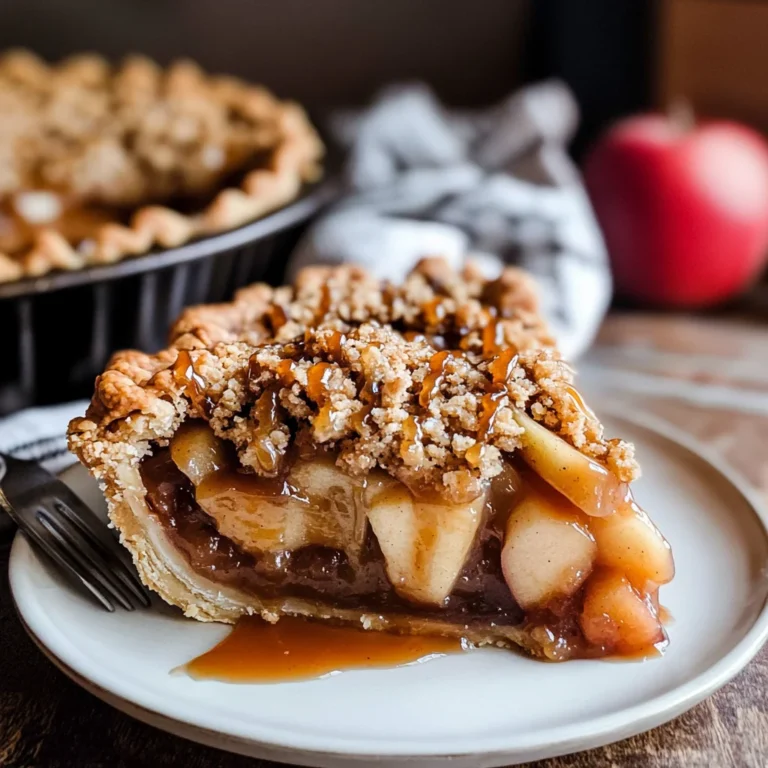
Imagine sinking your teeth into a warm, gooey slice of chocolate fudge cake, where each bite melts in your mouth and leaves a rich cocoa sensation lingering on your palate. The aroma wafts through the air, inviting you to indulge in this decadent treat, perfect for celebrating life’s sweetest moments or simply satisfying that late-night craving.
As I recall baking this delight with my grandmother, her laughter filled the kitchen as we made a glorious mess, flour dusting our faces like badges of honor. Whether it’s a birthday bash or a cozy family gathering, this cake promises joy and nostalgia, ensuring that every forkful is a delightful journey through time and flavor that you won’t soon forget.
Why are Butterfinger Balls a must-try?
Indulging in these delightful treats is pure bliss!
Easy to make, even for beginners, you’ll whip them up in no time.
Decadent flavor combines creamy peanut butter with crunchy chocolate, creating an irresistible bite.
Versatile options allow for fun variations; mix in your favorite toppings!
Crowd-pleaser for parties or family gatherings, everyone will be asking for more!
Butterfinger Balls Ingredients
For the Balls:
- 1 lb Butterfinger candy bars (about 6 bars) – Crushed finely to create that signature flavor; you can use any chocolate-covered peanut butter candy if preferred
- 1 cup creamy peanut butter – The base for these treats; crunchy peanut butter can add a delightful texture
- 2 cups powdered sugar – Sweetens and helps bind the mixture; feel free to adjust based on your sweetness preference
- 1/2 cup graham cracker crumbs – Adds a delicious crunch; you can substitute with crushed cookies for different flavors
For the Coating:
- 2 cups milk chocolate chips – Melted for coating; dark chocolate works wonderfully for a richer taste
- 1 tablespoon vegetable oil – Helps to thin the chocolate for easier dipping; coconut oil is a great alternative
Enjoy making these delightful Butterfinger Balls that your family will adore!
How to Make Butterfinger Balls
1. Crush the Butterfinger bars into fine crumbs using a food processor or a zip-top bag and rolling pin. You’ll want them to resemble coarse sand for the best texture.
2. Mix the crushed Butterfinger with cream cheese in a large bowl until well combined. The mixture should be smooth and slightly sticky, allowing it to hold its shape when rolled into balls.
3. Chill the mixture in the refrigerator for about 30 minutes. This will help firm it up, making it easier to shape into bite-sized treats that are perfect for snacking!
4. Shape the chilled mixture into small balls, about one inch in diameter. Roll each piece between your palms until they are smooth and round, giving you that delightful bite-sized treat!
5. Melt chocolate chips in a microwave-safe bowl, heating in 30-second intervals until smooth and glossy. Stir well between intervals to avoid scorching the chocolate.
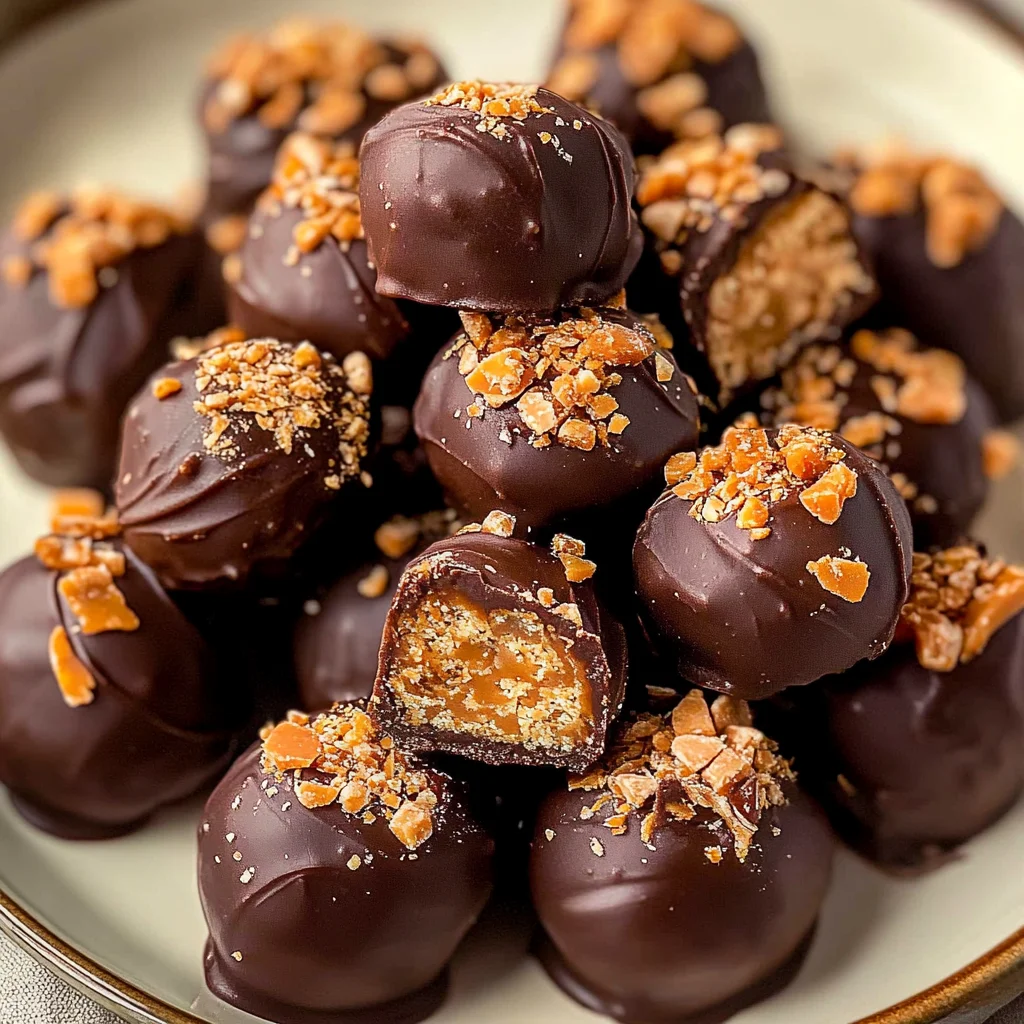
6. Coat each Butterfinger ball in the melted chocolate, ensuring they are fully covered. Use a fork to lift them out, letting excess chocolate drip back into the bowl before transferring them to a lined baking sheet.
7. Cool the coated balls in the refrigerator until the chocolate sets, about 15-20 minutes. You’ll know they’re ready when they’re firm to the touch and have that lovely shiny finish!
Optional: Drizzle with white chocolate for an extra touch of sweetness and decoration!
Exact quantities are listed in the recipe card below.
Expert Tips for Butterfinger Balls
- Chill the Mixture: Allow your mixture to chill in the fridge for at least 30 minutes. This makes it easier to form into balls without sticking.
- Use Fresh Ingredients: Ensure your peanut butter and Butterfinger candy bars are fresh. Stale ingredients can affect the flavor and texture of your Butterfinger Balls.
- Perfect Dipping Technique: When coating with chocolate, use a fork to dip and let excess chocolate drip off. This helps avoid clumps and ensures an even coating.
- Avoid Overmixing: Mix just until combined; overmixing can lead to a tougher texture, taking away from that delightful melt-in-your-mouth experience.
- Experiment with Toppings: Try rolling your Butterfinger Balls in crushed nuts or sprinkles for added crunch and visual appeal. It’s a fun twist on a classic!
How to Store and Freeze Butterfinger Balls
Room Temperature: Keep Butterfinger Balls in an airtight container at room temperature for up to 3 days. They’ll stay deliciously fresh and ready to enjoy!
Fridge: For longer-lasting treats, store Butterfinger Balls in the refrigerator for up to 1 week. Ensure they’re in a sealed container to prevent them from drying out.
Freezer: You can freeze Butterfinger Balls for up to 3 months. Wrap them individually in plastic wrap and place them in a freezer-safe bag for optimal freshness.
Reheating: If you prefer them slightly softened, let frozen Butterfinger Balls sit at room temperature for about 15 minutes before enjoying.
Butterfinger Balls Customizations
Unleash your creativity and personalize these delightful treats to suit your taste buds and dietary needs!
- Nut-Free: Substitute peanut butter with sunbutter for a safe, nut-free version that still delivers on flavor.
- Vegan: Use dairy-free chocolate and maple syrup instead of honey for a plant-based sweet treat everyone can enjoy.
- Crunchy Twist: Add chopped pretzels or crushed graham crackers into the mixture for an exciting texture contrast. The added crunch will elevate each bite!
- Spicy Kick: Mix in a pinch of cayenne pepper or chili powder to give your Butterfinger balls a surprising heat that complements the sweetness beautifully.
- Chocolate Drizzle: Drizzle melted dark chocolate over the finished balls for an indulgent touch that makes them extra special. This simple addition transforms them into a gourmet dessert!
- Flavor Boost: Experiment with different extracts, like almond or hazelnut, in the peanut butter mixture for unexpected flavor layers. Your taste buds will thank you!
- Mini Versions: Roll smaller balls for bite-sized treats that are perfect for sharing at parties or gatherings. They’re easy to pop in your mouth and enjoy!
Make Ahead Options
When it comes to whipping up a batch of Butterfinger Balls, meal prep can be a game changer, saving you time and stress. You can prepare the peanut butter mixture and form the balls up to 24 hours in advance; simply store them in an airtight container in the refrigerator. If you want to plan even further ahead, you can freeze the formed balls for up to 3 months—just be sure to place parchment paper between layers to avoid sticking. When you’re ready to enjoy your delicious Butterfinger Balls, simply remove them from the freezer and let them thaw for about 15 minutes before dipping them in chocolate. This not only maintains their creamy texture but also ensures that every bite is as delightful as the first!
Butterfinger Balls Recipe FAQs
What type of peanut butter should I use for Butterfinger Balls?
For the best flavor, creamy peanut butter is recommended. It blends beautifully with the other ingredients, creating that smooth, melt-in-your-mouth texture. If you’re looking for a healthier option, natural peanut butter works too, but make sure it’s well-stirred to avoid excess oil.
How long can I store Butterfinger Balls, and what’s the best method?
You can store your Butterfinger Balls in an airtight container at room temperature for up to 5 days. If you want them to last longer, keep them in the refrigerator where they can stay fresh for about 2 weeks. Just remember to let them sit out for a few minutes before enjoying, as they taste best slightly softened!
Can I freeze Butterfinger Balls? If so, how?
Absolutely! You can freeze Butterfinger Balls for up to 3 months. Just place them in a single layer on a baking sheet and freeze until solid. Then, transfer them to an airtight container or zip-top bag. When you’re ready to enjoy them, let them thaw in the fridge overnight or on the counter for about 30 minutes.
What should I do if my mixture is too crumbly?
If your mixture is crumbling and won’t hold together, try adding a little more peanut butter or a splash of honey. This will help bind everything together into a lovely dough. You could also add a tiny bit of melted chocolate to moisten it slightly while enhancing that delicious flavor.
Are there any dietary considerations I should be aware of?
Yes! For those with nut allergies, you can substitute peanut butter with sunflower seed butter or a soy-based alternative, which still gives that creamy texture without the nuts. Additionally, if you’re looking for gluten-free options, ensure that any powdered sugar you use is certified gluten-free.
Can I add other ingredients or flavors to my Butterfinger Balls?
Of course! Feel free to get creative by adding crushed pretzels for added crunch or a sprinkle of sea salt on top for contrast. You could even experiment with different types of chocolate coatings—dark chocolate adds richness while white chocolate gives a sweet vanilla twist!